How to fold tissue paper into beautiful gifts?
Giving gifts becomes an experience when your gift wrapping is as special as the contents. Surprisingly, almost no one uses tissue paper, even though more than 70 percent of people consider a gift with creative wrapping to be extra thoughtful . Anyone who thinks beautiful wrapping is complicated will soon discover that a little preparation and simple materials can create a real wow factor.
Table of contents
- Step 1: Gather the necessary materials and tools
- Step 2: Choose the right folding technique for your project
- Step 3: Fold the tissue paper according to the selected technique
- Step 4: Secure the folds with tape or glue for strength
- Step 5: Check the folds and complete the finishing
Short Summary
| Important Point | Explanation |
|---|---|
| 1. Gather all materials beforehand | Make sure you have your tissue paper, tools, and decorations ready to make the process go smoothly. |
| 2. Choose a suitable folding technique | Depending on the gift and the desired style, choose the right technique for an optimal appearance. |
| 3. Fold the paper with precision | Use a bone folder to create clean, even folds for a professional result. |
| 4. Carefully secure folds with tape | Use double-sided tape or special glue to secure the folds firmly and neatly. |
| 5. Check and finish the packaging | Review your work and add subtle embellishments for a final, polished look. |
Step 1: Gather the necessary materials and tools
Creating beautiful gift wrapping with tissue paper always begins with careful preparation. Before you begin folding, gather all the necessary materials to ensure your project runs smoothly and successfully . This prep work is crucial for a perfect final result.
To fold tissue paper into gift wrapping, you'll need a few specific materials. Start by gathering several different qualities of tissue paper in different colors and sizes. Choose paper that's sturdy enough to hold its shape, yet flexible enough to fold beautifully. Make sure you have a variety of colors that complement each other or create a nice contrast.
Besides tissue paper, some essential tools are indispensable. Gather a sharp but soft bone folder or a ruler to create clean, crisp folds. Sharp scissors are helpful for neatly trimming edges and adding any decorative details. You'll need adhesive tape or double-sided tape to keep your folded pieces neatly together.
It's wise to create a clean, flat surface where you can work comfortably. A large table or desk with ample space allows you to lay out your materials clearly and provides space for folding. Ensure adequate lighting so you can work accurately and see small details clearly.
Tip: Prepare all your materials beforehand so you don't have to search for them during the folding process. Consider watching instructional videos or manuals beforehand to get a good idea of the technique you'll be using. Creative tissue paper folding inspiration can help you discover new techniques and make your gift wrapping even more beautiful.
Finally, check that you have all of the following materials on hand:
- Tissue paper in different colors
- Folding bone or ruler
- Sharp scissors
- Adhesive tape or double-sided tape
- Optionally decorative elements such as ribbon or stickers
With all these materials gathered, you're ready to start folding your first beautiful gift box!
Step 2: Choose the right folding technique for your project
Choosing the right folding technique is a crucial step in creating beautiful tissue paper gift wraps . Each technique has its own unique character and suits different types of gifts and occasions. You'll discover that the technique you choose will determine the final result.
Start by carefully considering the type of gift and the message you want to convey. A tightly folded envelope fold works perfectly for flat or thin gifts like vouchers or small jewelry. This technique creates a sleek and professional look. For a more playful and romantic effect, consider a flower or fan design, subtly rolling and pleating the edges of the tissue paper.
For gifts with irregular shapes, the soft-fold technique is ideal. This involves folding the tissue paper loosely but carefully around the item, creating a soft and inviting wrapping. This method works particularly well for fragile or irregularly shaped items. Pay close attention to the folds and ensure they are neat and even to maintain a neat appearance.
An advanced technique is the origami-inspired folding method, which involves creating complex geometric shapes. This technique requires more practice but yields spectacular results. Start with simple shapes and gradually build up to more complex designs. Use your bone folder to create sharp, clean folds.
Discover more creative folding methods for your gift wrapping to broaden and refine your skills. Experiment with different styles and combine techniques to create unique packaging.
When choosing your folding technique, consider the following aspects:
- The shape and size of the gift
- The desired visual appearance
- Your own skill level
- The time available for folding
Remember, practice is the key to perfection. Each folded gift will be better than the last, so don't be afraid to experiment and develop your own style.
Step 3: Fold the tissue paper according to the selected technique
Now's the time to actually apply your chosen folding technique to your tissue paper . This step requires patience, precision, and a calm approach. Careful execution of every detail is essential for a professional final result.
Start by spreading your tissue paper out on a flat, clean surface. Make sure the paper is smooth and wrinkle-free. Use your bone folder to create sharp, clean folds. Press each fold firmly, but be careful not to tear the delicate paper. The pressure you apply should be consistent to ensure a neat finish.
To fold an envelope, place the paper horizontally and fold the sides in neatly, slightly overlapping each other. Then fold the top edge upward at a sharp angle, creating a clean point. Make sure your folds are symmetrical and the edges meet neatly. Discover more tips for perfect folding styles to refine your techniques.
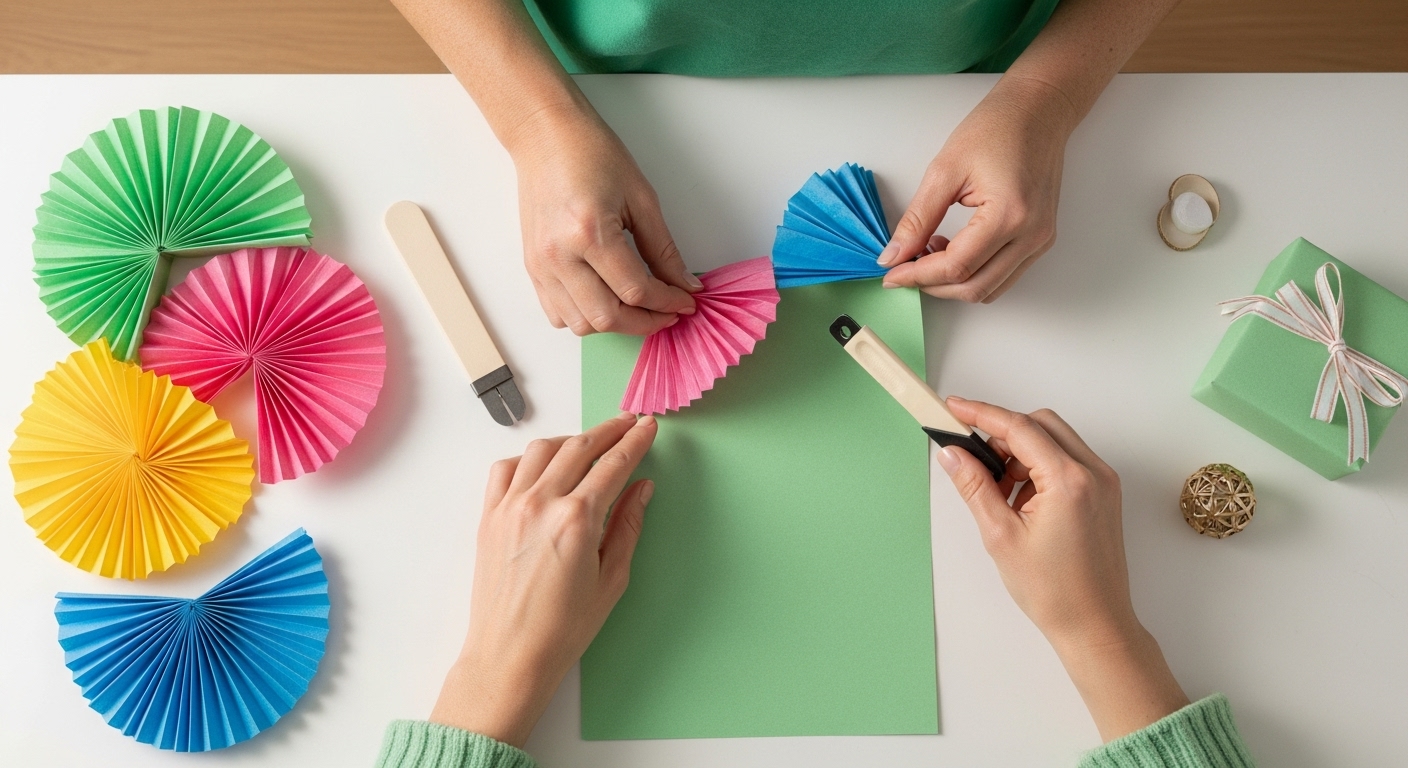
When you choose a more advanced technique like the fan or flower method, the process begins with creating even pleats. Use your bone folder to make each pleat exactly the same width. Start at one edge and work your way to the other edge in a structured manner. This requires concentration and a steady hand.
A common challenge is preventing tissue paper from tearing. Always work carefully and apply light pressure. If you notice the paper starting to tear, stop and start over with a new sheet. Perfection comes with practice and patience.
When folding, pay attention to the following critical aspects:
- Evenness of the folds
- Symmetry of the end result
- Intactness of the paper
- Tightness of the edges
While folding, it's important to regularly check your work and check your folds. Lay your folded pieces side by side to ensure consistency. Small imperfections can affect the overall final result. Take your time and work with concentration but relaxation.
A successfully folded result is characterized by clean, even folds without tears or imperfections. The paper should fit neatly around your gift, without any bumps or loose edges. Once you're satisfied with the result, you're ready for the next step in creating your beautiful gift wrapping.
Step 4: Secure the folds with tape or glue for strength
Reinforcing your folded tissue paper is a critical step that determines how sturdy and professional your gift wrapping looks . Choosing and applying the right fastening method requires precision and care.
The first consideration is selecting the right adhesive. Double-sided tape is ideal for tissue paper because it's invisible and doesn't leave messy edges or clumps of glue. Make sure you choose a thin, transparent type that's gentle enough not to damage the delicate paper. Pre-cut small pieces to size for precision.
Alternatively, you can use a special paper glue specifically designed for lightweight materials like tissue paper. Apply the glue sparingly with a fine brush or cotton swab. Too much glue can show through or soak the paper, damaging your beautiful folds. Discover the best fastening techniques for your gift wrapping for professional results.
When applying tape or glue, it's important to be strategic. Always start on the inside of your packaging to conceal any imperfections. Gently press the glued areas together with your bone folder or a clean, dry cloth. Be extra careful around the edges and corners, where the paper is most vulnerable.
A common challenge is preventing bubbles or wrinkles when attaching. Always work on a smooth surface and take the time to carefully press each fold. If you notice any air bubbles forming, use a needle or pointed tool to gently deflate them before continuing.
When attaching, pay attention to the following crucial aspects:
- Use minimal amounts of glue or tape
- Provide invisible mounting points
- Avoid wrinkles and bumps
- Work neatly and with concentration
Perfectly secured packaging is characterized by tight seams without visible glue residue or bubbles. The folds should feel smooth and crisp, without the paper appearing damaged or soiled. Always check your work by carefully lifting and turning the packaging. If everything feels firm and neat, you're ready for the next step in creating your beautiful gift box.
Step 5: Check the folds and complete the finishing
The final stage of your gift wrapping is all about precision, attention to detail, and adding that special finishing touch that makes your gift truly special . It's the moment when you bring all the previous steps together into a perfect whole.
Start with a detailed inspection of your folded tissue paper. Place the package on a well-lit, flat surface and examine every fold and seam carefully. Check that the folds are clean and symmetrical, with no wrinkles or loose edges. Use your bone folder to smooth out any minor imperfections and ensure that every edge is neatly finished.
The decorative finishing touches are what really make your gift wrapping stand out. A beautiful ribbon can work wonders. Choose a ribbon that complements the color of your tissue paper or creates a subtle contrast. Discover decorative accessories for your gift wrapping to make it even more special. Wrap the ribbon tightly but elegantly around the packaging and tie a tight, symmetrical bow. Be careful not to make the bow too large or disturb the folds.
For an extra professional touch, you can add small decorative elements. A pretty sticker, a small label, or a subtle embellishment can give the whole thing that little something extra. Use these embellishments sparingly and strategically. They should draw attention to your careful folding, not distract from it.
A common challenge is finding the right balance between decoration and simplicity. Too much embellishment can overwhelm your carefully folded tissue paper. Remember: less is often more.
This table provides an overview of common problems when folding tissue paper, with possible causes and solutions from the article.
| Problem | Possible Cause | Solution |
|---|---|---|
| Tissue paper tears | Too much pressure when folding or gluing | Work carefully and use light pressure |
| Do not fold tightly | Insufficient use of a bone folder or ruler | Use a bone folder for sharp folds |
| Folds are asymmetrical | Sloppy or thoughtless folding | Check often and work in a structured manner |
| Bumps from glue or tape | Too much glue/tape or irregular application | Use minimal amounts and press gently |
| Irregularities in results | Do not check regularly while folding | Work with concentration and check continuously |
| Visible adhesive residue | Glue on outside or applied in excess | Apply tape/glue to the inside, sparingly |
| Decoration dominates design | Too many or too large decorations added | Choose subtle, matching decorations |
When adding the finishing touches, pay attention to the following aspects:
- Symmetry of the entire packaging
- Tightness of the folds
- Harmony of the decorative elements
- Subtlety of the finish
A perfectly finished gift wrap is characterized by a smooth, ironed surface without visible wrinkles or bumps. The decorative elements should be elegant and well-placed. When your gift looks like it just came from a professional gift shop, you know you've done it right. Take a moment to admire your work before handing the gift to the recipient.
Make your gift an unforgettable work of art
Have you noticed while folding tissue paper that the right material, the perfect color, or a strong finish often makes all the difference? Perhaps you've experienced the frustration of tissue paper tearing, not folding neatly, or simply not being sturdy enough for that special presentation. Do you want to prevent your gift from looking too homemade, and secretly dream of packaging that instantly inspires admiration?
Discover the complete range of professional tissue paper and everything you need for your most beautiful gift wrapping. Choose from wrapping paper, gift bags, satin ribbons, and unique embellishments that complement every creative folding technique in the collection. Make your next gift not just special, but truly unique. Visit kadopapier.net today and let your creativity shine with the finest materials.
Frequently Asked Questions
How do I choose the right folding technique for my gift?
When choosing a folding technique, it's important to consider the type of gift and the desired look. Consider the shape and size of the gift and choose a technique that suits it, such as the envelope fold for flat gifts or the cover fold for irregular shapes.
What materials do I need to fold tissue paper?
To fold tissue paper, you'll need different colors of tissue paper, a bone folder or ruler, sharp scissors, and tape or double-sided tape. Decorative elements like ribbon or stickers can also be added for an extra touch.
How can I make sure my folds are straight and even?
Use a bone folder to create sharp folds, press each fold firmly, and work in a structured manner. Check your folds regularly to ensure everything is symmetrical and neat.
What is the best way to secure the folds?
Ideally, use double-sided tape for an invisible finish. Apply the tape to the inside of the packaging, applying light pressure to prevent tearing. Ensure there are no air bubbles or bumps when applying the tape.